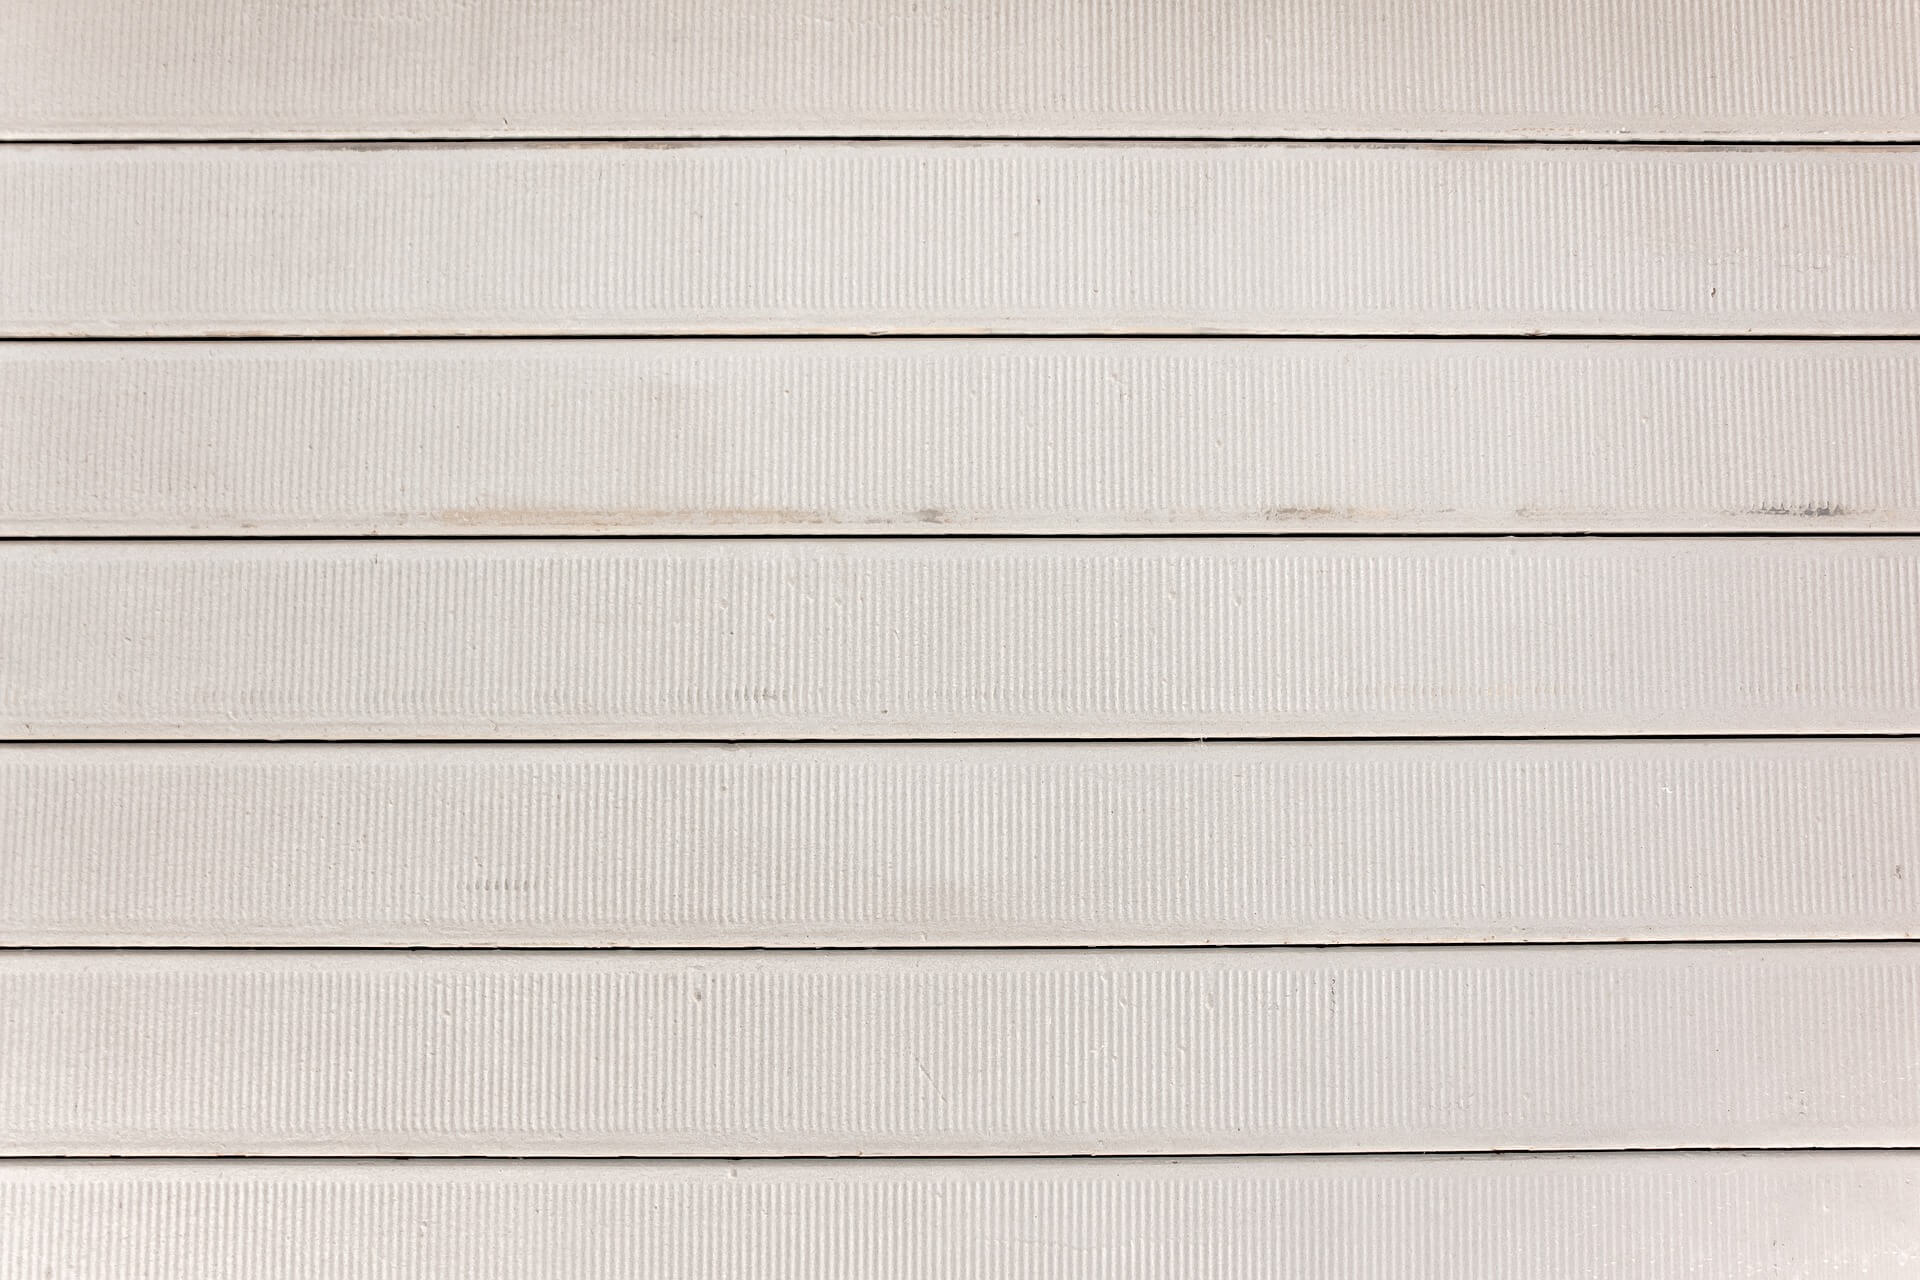
How to Install Concrete Gravel Boards?
Having beautiful and reliable fencing is essential to modern homes and gardens, and part of this is finding the right gravel boards to bolster and improve your fence.
This article goes over everything homeowners need to know about concrete gravel boards. Wondered what are their pros and cons? If you can use concrete fence posts alongside them? How do they match with a fence panel? You’ll find the answer here!
Pros and Cons of a Concrete Gravel Board
To understand why concrete gravel boards are increasingly popular with homeowners, you merely need to look at their advantages. When used in conjunction with concrete fence posts and fence panels, they create incredibly sturdy and reliable fencing:
The Pros of Gravel Boards
- Strong foundation that ensures your fence can withstand rain storms and gales.
- Concrete has immunity against insects and other animals that can damage and eat away at wooden fence boards.
- A concrete gravel board easily slots into place making the installation straightforward.
The Cons of Gravel Boards
- Heavy and unwieldy. You might need assistance when carrying and fitting gravel boards.
Step-by-Step Installation Process
After you’ve planted your corner posts and intermediate posts to the correct depth, secured them with a concrete mix and installed the fence panels, it is time to fit gravel boards and complete your fence:
- Tools and Items You Need Before Starting
Before you start, there are some tools and items you need. Making sure you have these on hand will make the fence installation faster and smoother: A drill, a hammer, screws or nails, grave board clips or cleats, and a spirit level.
- Preparing the Gravel Boards
Before installing them, you need to make sure the gravel boards are uniform in size and compatible with your fence posts. Carefully measure the distance between fence posts and width and see how your gravel boards compare. If they’re too long, you’ll need to cut them with a circular saw.
- Slotting In the Gravel Boards
After you’ve prepared the boards, it is time to install the clips/cleats. Use a tape measure and denote the correct position to install the clips with a pencil, use a drill to create holes in the fence posts, and secure the clips with nails/screws.
After the clips are successfully installed, if all your measurements are correct, fitting gravel boards is only a matter of slotting them in. You can even forgo using clips by digging holes and fastening the gravel board directly into the concrete fence posts, though this approach is more fraught and requires experience.
- Adding the Finishing Touches to the Fence
You should now be a proud owner of a strong, functional fence. The only thing that’s left is some finishing touches like installing the fence post caps and painting the fence to ensure it matches the aesthetics and design of your home/garden.
Concrete Fence Posts and Boards FAQ
How Do You Attach Concrete Gravel Boards?
Attaching gravel boards to your fence is a relatively simple process. If you have slotted posts, the process is as simple as slotting in the gravel boards after cutting them and ensuring they fit the dimensions of your posts. If you have traditional fence posts, you need to use gravel board clips. Secure the clips on each fence post with drills and screws and then slot the gravel boards in.
Should Concrete Gravel Boards Touch the Ground?
There are no adverse side effects to the gravel boards touching the ground as they are naturally resistant to moisture and rotting, so it is ultimately a matter of preference. If you want complete privacy with no gaps in your fence, the boards should touch the ground.
If there are gaps between the fence panels and you don’t want the gravel boards to appear out of place, you can leave gaps between a grave board and the ground.